
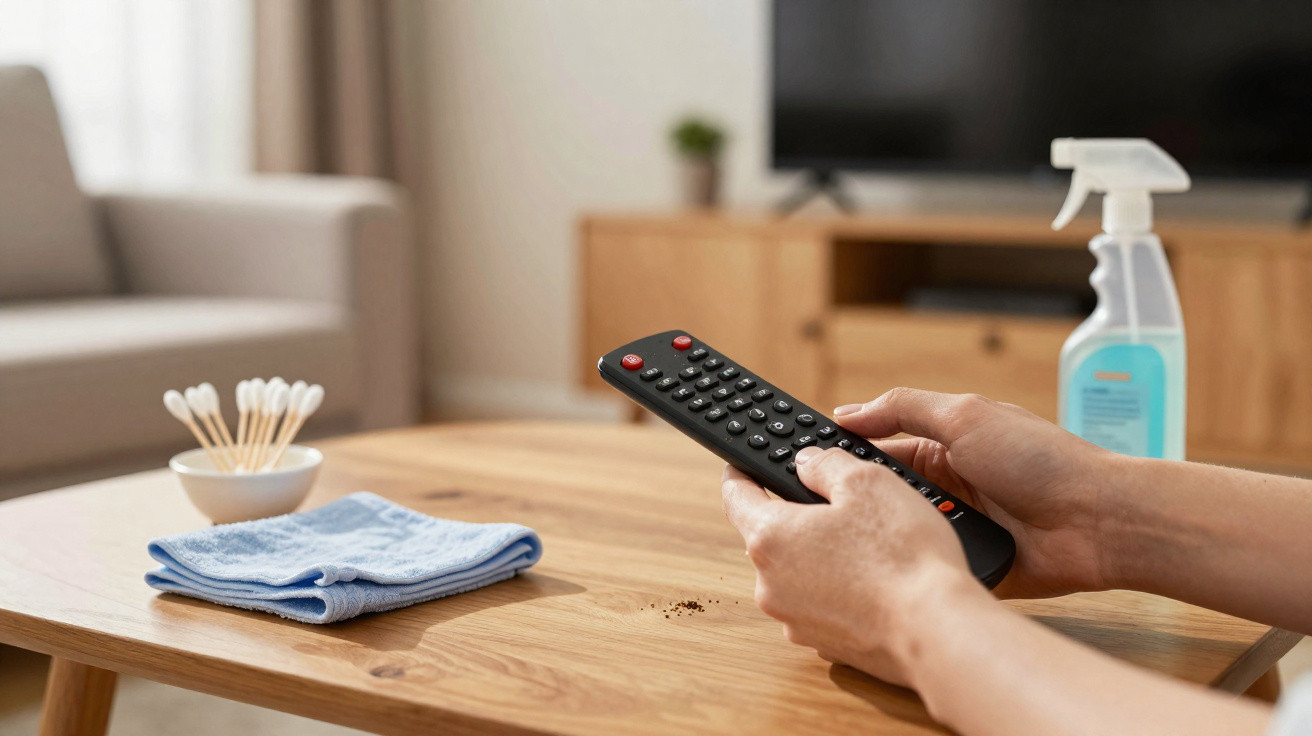
As time goes on, it’s common for a remote control to start misbehaving, forcing you to press the same button several times before the device responds. In most situations, the fault lies in the handset itself: grime and residue build up inside, weakening the electrical contact and affecting the signal sent by the infrared emitter - something that can often be put right at home with a thorough clean.
Why does the remote control start failing over time?
A remote control works with an electronic circuit board and rubber buttons that press onto metal contact points. With everyday use, a film of dirt forms between the rubber pad and the board, which reduces how effectively those contact points work and makes the keys feel “stubborn”.
The most common causes of this build-up include damp hands, food residue, sweat, the skin’s natural oils, and household dust. On older models, wear to the conductive rubber on frequently used buttons - such as power and volume - can also lead to sluggish responses or complete failure.
What usually builds up underneath the remote control buttons?
Under the buttons, you’ll often find dust, grease, dried sweat, food crumbs, and skin particles. Together, these create a sticky, almost invisible layer that prevents the conductive rubber on the button from making proper contact with the metal area on the circuit board, so you need to press harder or repeatedly.
On top of that, you may see light oxidation on metal tracks due to moisture, hair caught around button edges, and residue from sugary drinks (such as fizzy drinks) that leaves the inside tacky. In more serious cases, certain buttons stop working altogether or only respond when pressed at specific angles.
- Dust mixed with grease and dried sweat, forming an insulating film;
- Fabric fluff and strands of hair trapped in gaps between buttons;
- Dried droplets of drinks, such as fizzy drinks and coffee, sticking parts together;
- Mild oxidation on metal contacts from exposure to moisture.
How to open and clean the remote control at home, step by step
You can clean it at home as long as you take a few basic precautions and avoid makeshift tools that might snap clips or damage the circuit board. Choose a flat, well-lit surface, keep liquids well away, and gather everything you’ll need beforehand so you don’t have to stop halfway through.
You’ll need a small flat-head screwdriver or a crosshead (Phillips) screwdriver, isopropyl alcohol, cotton wool, cotton buds, a soft lint-free cloth, a plastic pick or rigid card, and a small container to hold the screws. After removing the batteries, take out the screws (including any hidden in the battery compartment), release the clips with the card, separate the casing, circuit board, and rubber button mat, wash the rubber mat with water and mild washing-up liquid, and clean the circuit board with isopropyl alcohol. Let every part dry completely before reassembling, and only then put the batteries back in to test.
What care helps extend the remote control’s lifespan?
While fixing it, don’t scrape the contacts with sharp objects or use water directly on the circuit board, as this can strip conductive layers or cause moisture damage. Oily spray products are also best avoided, because they leave residue that attracts even more dirt over time.
For day-to-day use, a few simple habits help: don’t handle the remote with greasy hands, keep it away from excessive damp and heavy dust, avoid prolonged exposure to direct sunlight, and wipe the outside with a cloth lightly moistened with isopropyl alcohol. Replacing batteries as soon as they start to leak helps prevent contact oxidation, extending the life of the remote control and delaying the need for replacement or more complex repair.





Comments
No comments yet. Be the first to comment!
Leave a Comment