
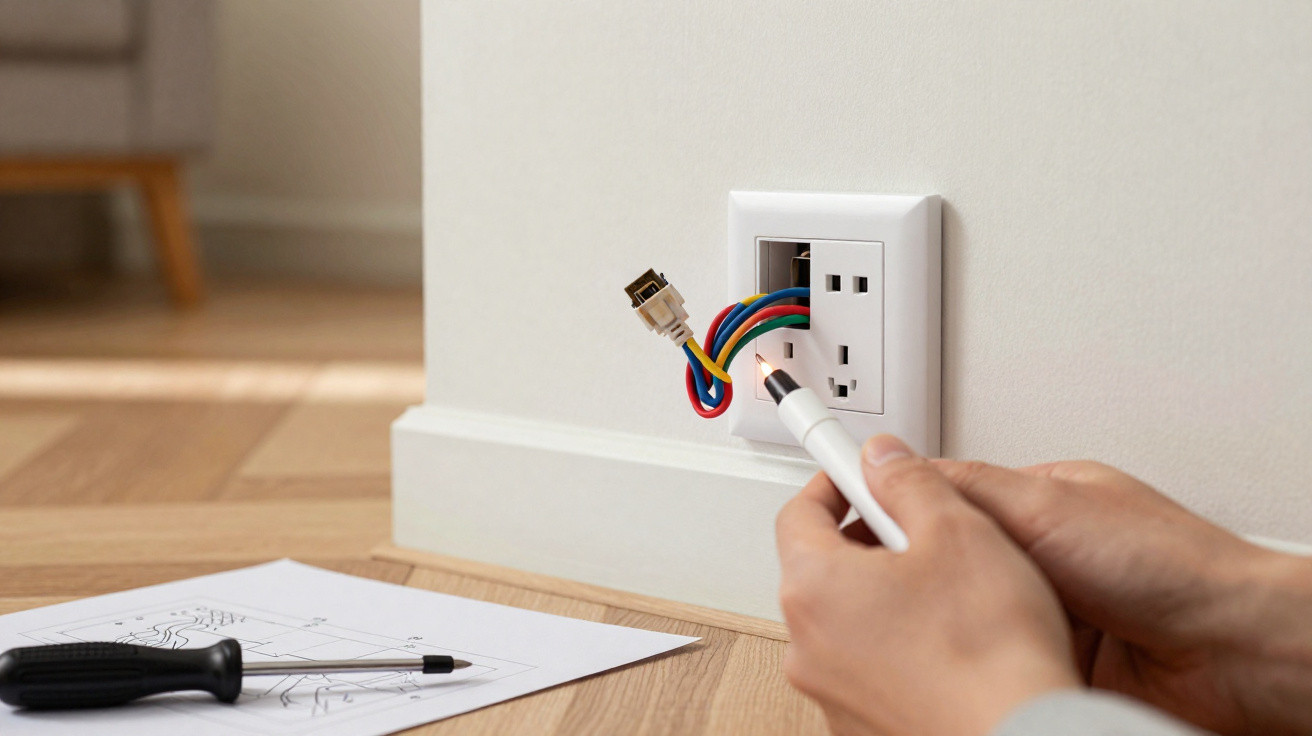
USB wall sockets are often seen as a quick comfort upgrade: charge your phone straight from the wall, stop hunting for plug-in adaptors, and keep things looking tidy. In real-world DIY, though, there’s a snag you can’t see or hear - and that’s exactly why it’s dangerous. If you simply undo the faceplate and bodge the swap, you could overload the circuit or even end up with an electric shock.
Before you pick up the first screwdriver: is the power truly off?
Why switching off the breaker lever isn’t enough
The usual routine goes like this: head to the consumer unit, flick the miniature circuit breaker (MCB) for the room to OFF, then walk back to the job assuming everything is safe. A lot of people feel completely protected at that point. In many homes, that confidence is misplaced.
In older properties especially, circuits have often been extended, re-terminated, or patched up over the years. When that happens, the labels in the consumer unit frequently stop matching what’s actually wired. A socket can easily be on a different circuit from the one the faded sticker suggests.
"If you rely on the labelling in the consumer unit, you may end up working on cables that are still live - a mistake with potentially fatal consequences."
There’s only one reliable way to confirm the circuit is dead: measure it, right at the socket.
Checking for voltage: avoid cheap test screwdrivers
Many DIYers instinctively reach for the semi-transparent test screwdriver with a little neon lamp. It’s handy and cheap - and, when it matters, not dependable. These testers can react to induced or residual voltages, or fail to give a clear result at all.
What you actually need is a two-pole voltage tester, often sold as a “VDE voltage tester” or a “voltage absence verifier”. With two probes, it gives a dependable indication of whether the socket is still live - and it deserves a place in any toolbox that also contains side cutters.
- Step 1: Switch off the breaker for the circuit you believe feeds the socket.
- Step 2: Test at the socket using the voltage tester - between live and neutral, and between live and earth.
- Step 3: Only when every check reads 0 V should you begin removing the old socket.
Skipping this check is, quite literally, gambling with your life - and with the safety of anyone who may work on that wiring later.
The hidden lack of space inside the back box
Why the old flush-mounted box is almost never deep enough
The second major stumbling block only appears once you pull the existing socket forward. Behind it sits the flush-mounted back box - typically a shallow plastic box, around 30 millimetres deep. That can be just about adequate for a standard socket, provided the conductors are routed neatly.
A USB socket combination is a different proposition. Inside the unit, alongside the terminals, is a small electronics board and a transformer that steps 230 volts AC down to a low, safer DC output. That hardware needs room - far more than many older, shallow boxes can provide.
"Many people don’t fail because of the electrics but because of simple physics: the USB block is simply too thick for a shallow box."
What often follows is predictable: cables get forced backwards, the box distorts, and the faceplate won’t pull up tight. In the worst case, live conductors end up trapped under pressure or insulation gets damaged.
The 40-millimetre rule for USB wall sockets
For this kind of installation, professionals typically use flush-mounted back boxes at least 40 millimetres deep - and for some units, 50 millimetres. That depth is needed to accommodate:
- the USB module itself,
- the supply terminals,
- and enough bend radius for stiff conductors.
If the existing box is too shallow, squeezing, forcing, or swearing won’t fix it: the box needs to come out, the opening must be enlarged with hammer and chisel, and a deeper box installed and re-plastered. It’s dusty work, but it’s the correct solution.
Trying to dodge that effort can lead, over time, to poor connections, heat build-up inside the wall, and a socket that wobbles whenever you plug something in.
Protection in the consumer unit: standards aren’t just paperwork
The right MCB rating for the circuit
USB wall sockets are usually connected into an existing circuit. That circuit should already be protected by an MCB, commonly 16 ampere, which suits most domestic socket circuits.
The key point is that a USB module can increase the continuous load on the circuit, particularly if several devices are charging at once. The cable size must match the protective device and the installation method. Typical domestic guidance is:
| Conductor cross-section | Maximum MCB rating |
|---|---|
| 1.5 mm² copper | 10–16 A (depending on installation method and standard) |
| 2.5 mm² copper | up to 20 A (under suitable conditions) |
If you keep adding more loads to a lightly sized or “organically grown” circuit without checking protection and cable capacity, you can create an overload that stays hidden. In the worst case, the cable inside the wall can overheat long before an MCB trips.
RCD protection: a lifeline around moisture and faults
Alongside the MCB, a second device is crucial: an RCD with a 30 milliampere trip current. It continuously compares outgoing and returning current. If some current leaks away - through a person or damp materials - it disconnects in milliseconds.
"Without a functioning RCD, in damp conditions a single faulty contact can be enough for a touch at the socket to end in a life-threatening accident."
With USB wall sockets, where devices may be connected for long periods, the entire circuit should be protected by a 30 mA RCD. If you can’t see one in the consumer unit, or you’re not certain what you’re looking at, you should hire a qualified electrician. Retrofitting is usually possible and raises safety across the whole home.
USB socket quality: cheap can become expensive
How to spot products you can trust
The market is packed with USB wall sockets at rock-bottom prices. The difference isn’t only in appearance - it’s inside the unit. Better models include surge protection, temperature monitoring, and correctly rated components. Unbranded imports often cut corners in exactly the areas you can’t see.
As a baseline, look for recognised markings such as CE and references to national standards. Cutting costs in the wrong place can mean:
- overheated electronics inside the wall,
- reduced battery lifespan for phones and tablets,
- and, in extreme cases, a fire risk.
Charging current: why 2.4 A per port makes sense
Today’s smartphones, tablets, power banks and headphones draw far more power than older handsets did. A USB socket that can only supply 1 ampere per port will still charge - but painfully slowly. Users then tend to leave devices plugged in constantly, which adds further stress to the electronics.
In day-to-day use, choose units that provide at least 2.4 ampere per USB port at 5 volts. If you want to charge multiple devices at once, check the total output: a socket with two ports but only 2.4 ampere overall will effectively halve the current available to each device under load.
How to fit it safely, step by step
Checklist for DIYers who respect electricity
- Use a voltage tester to confirm the wiring is genuinely dead.
- Remove the existing socket and measure the depth of the flush-mounted back box.
- If it’s less than 40 millimetres deep, fit a deeper box.
- Strip conductors to the correct length, route them neatly, and avoid kinks.
- Check at the consumer unit: is the MCB correct, and is there an appropriately rated RCD?
- Select a quality USB unit with sufficient current output and appropriate certification marks.
- After fitting: carry out a visual check, re-test with the voltage tester, and perform a load test by charging a device.
If you feel unsure at any stage, don’t improvise - call an electrician. They can quickly assess the installation, cable sizes and protective devices, and upgrade components properly where required.
What many people underestimate: continuous load and heat inside the wall
A normal plug-in USB charger sits in front of the socket with air around it. A USB wall socket, by contrast, lives in a more or less enclosed cavity. If at least one device is charging around the clock, the internal continuous load rises. Any saving in copper or heat dissipation then shows up directly as higher temperature.
That’s why it’s worth paying attention to early warning signs: if the faceplate becomes noticeably warm, lights flicker when plugging in, or the breaker trips intermittently, the installation should be checked - not “tested” by trying again.
When planned properly and installed neatly, USB wall sockets genuinely improve daily life: less cable clutter, more free outlets, and the ease of charging phones and tablets exactly where you use them most. The hidden catch isn’t the idea itself; it’s the interaction between wiring, available space and protective equipment - take those seriously, and you can modernise your home safely for the long term.





Comments
No comments yet. Be the first to comment!
Leave a Comment